Showing posts with label Halloween. Show all posts
Wednesday, October 31, 2012

Homemade Halloween


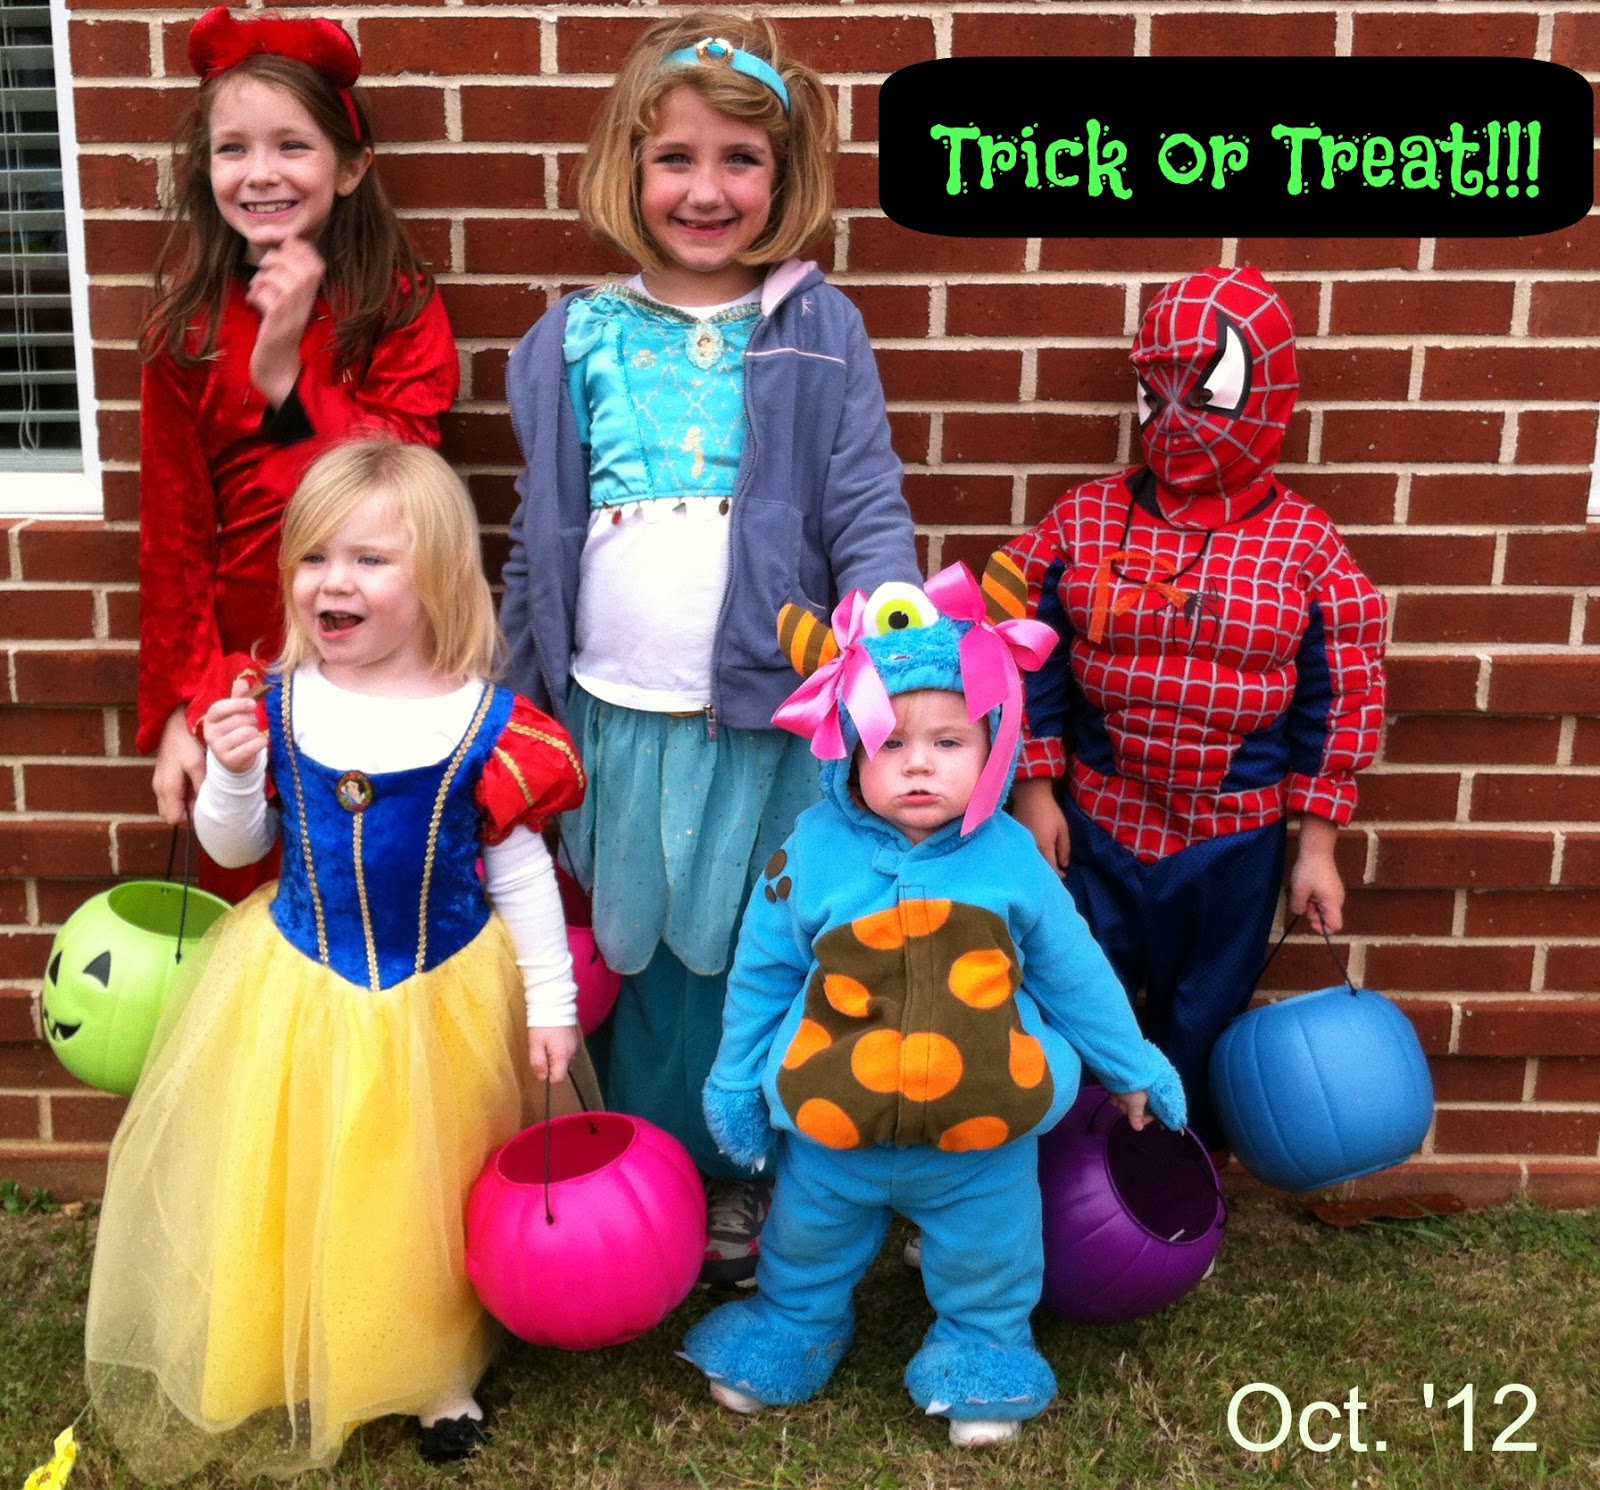
Halloween is one of my favorite holidays. I always loved dressing up and going trick or treating when I was a kid. Now I love watching my kids do the same thing. I haven’t dressed up in quite a while, but I think there might be some family costumes in our future. I just love seeing whole families participate in the festivities of the holiday! 

I like seeing creative costumes, especially homemade ones! 

I had some great friends share their homemade costumes with me, so I could share them with you!

This is my great friend KellyAnn, her husband Scott, and their kiddos!
She got the fabric for her daughter’s Dorothy costume from Wal-Mart.
Her husband’s costume is a sweatsuit purchased from Wal-Mart as well.
They bought a funnel, spray painted it silver, and added the heart on his chest
to complete the tin-man ensemble!
KellyAnn had all of the components of her costume on hand already, and
her son’s courageous lion costume was store-bought.


This is my sister-in-law, Elizabeth. She was Twitter for Halloween
last year! I thought it was a very clever costume. She found the
dress at a local clothing store, added a matching feather boa around the
bottom hem, and stuck some feathers in her hair.
She wore the dry erase board around her neck with her
twitter handle on it so people could ‘tweet’. 


These are our friends Steve, Debbie, and their children.
Debbie did an amazing job creating these costumes for her family this year.
She didn’t tell me the details about how she made them.
(Maybe it’s a lego ninja secret).
I would imagine there were lots of cardboard boxes, duct tape,
and paint involved!


I love hearing from my readers! 

Did you make your costume this year? Share it on my Facebook page! 


Monday, October 29, 2012

Weekend Wrap-Up

We had quite an eventful weekend!
It was packed full of fun Halloween activities.

We started with carving pumpkins. Big A did a great job, but she had a hard time getting the carving knife all the way through the pumpkin. I had to help her shape things up a little bit in the end, but the end result was not bad for an 8-year-old.
D carved the top pumpkin.
Big A carved the bottom pumpkin. 

Of course, you can’t carve pumpkins without roasting the seeds afterward!


We visited our church for the annual Trunk or Treat. My brother-in-law, his wife, and the kiddos joined us there for some fun!

Big A, Middle A & Little A with their cousins. 

Last year, our neighborhood held Trick or Treating on the Saturday before Halloween. We didn’t participate because we had other activities going on. Evidently it was decided that the turnout for weekend trick or treating was better than on Halloween, so they held it on the weekend again this year. We took the kids  around the neighborhood to score some more candy.

Middle A, Big A, and her bestie warmed up with hot chocolate! 

Also, over the weekend I came to the realization that my baby is about to turn a year old in just 2 weeks! She was such a big girl, going right up to people and holding up her bucket. When they would put candy in her hand, she would drop it right into her bucket. It was so cute, but it makes me sad to think that a whole year has passed already. 

ROOOOAAAARRR!!!!

I’m going to feature homemade Halloween costumes on Wednesday, so if you would like for me to include your homemade costumes, please email them to anorris21 [at] gmail [dot] com. I love hearing from my readers, and sharing crafty things they’ve done!


Thursday, October 25, 2012

Halloween Craft: Felt Magnets & Brooches


A guest post by Sage Adderley.

My family loves Halloween. We spend weeks talking about what costumes we will put together, we carve pumpkins, and love to make things to hang up around the house to set the spooky mood.

This year, we decided to make some easy felt crafts. They were definitely a kid-friendly activity. We actually didn’t have to purchase any of the supplies, everything we used was already in our craft collection!

I found some magnets and pinbacks on clearance at our local craft store and finally put them to good use!


Supplies:
Squares of felt in various colors
Glue gun
Googly eyes in different sizes
Sharpie
Glitter pens
Scissors

Directions
We simply cut Halloween-themed shapes like pumpkins, witch’s hat, a witch on a broomstick, a bat, and spider from the felt squares. We drew the outlines on the felt with a sharpie, but you can use stencils if you’d like.

There are no rules when it comes to this craft! Have fun and let the kids use their imagination. We glued one large eye on the bat to make a Cyclops bat and found a stick outside to use as the broomstick for the witch.

After you decorate the felt image, allow it to dry thoroughly and then flip it over to glue either a magnet or pinback. Let it dry again and you are all done.

TIP: There are many free stencils online that you can download and print. Just search free Halloween stencils and see what you come up with.

______________________________________


I met Sage six years ago. We have gotten to know each other over the last several years, and I'm lucky to be able to call her one of my best friends. She is a major inspiration to me, creatively and otherwise. She runs Sweet Candy Distro, and has a blog of her own called, 'my name is: Sage'.  She's a freelance writer and has an Etsy shop, which is also called, 'my name is: Sage'.  She recently started Sage’s Blog Tours, a tour of book reviews and promotions among numerous blogs, which I am honored to participate in.
Friday, October 28, 2011

Easy DIY Halloween Decorations

This year, I have decided that I'm decorating for the holidays. I mean, REALLY decorating for the holidays. I want our home to feel festive--starting with Halloween! The only problem is, we don't have a never-ending supply of money, so I have to find cheap or free ways to decorate our home. These happened to be free since I already had the supplies lying around the house. 


First, we have spooky ghosts and bats! We made about 15 of these to hang around the house. 


I went online and found a free coloring sheet with the kind of bat & ghost I wanted. I had to adjust the size a little bit to make them larger. 
I used a heavy piece of cardboard (not the corrugated kind) to cut them out of. 
We painted them with washable paint. 


I went back after the kids were done and added a second coat of paint to make them look a little bit darker. 
When they were done drying, I added faces to the ghosts with a sharpie. 
I used an awl and poked a small hole in the top of each one and tied a piece of fishing line to them so we could hang them. 
We hung them in the entryway, living room, hallway & kitchen! 
___________________________________________________________________

Halloween Trees

You can use just about anything to make these and you can make them for any holiday! 


For these, you will need scissors, tissue paper, cardstock, clear tape, and hot glue. 

We'll start with this one:

First, make your cone out of cardstock. 
Tape it in place. 
I just rolled it into a cone shape and trimmed the bottom so it would sit upright. 


Next, I cut the tissue paper into lots of squares. They were about 1"x 1".
Scrunch them up and glue them around the bottom of the cone. 
You can glue them in whatever pattern you like. 

You'll have to excuse the mess....I'm a multi-tasker. 
Keep going up the cone. Glue the tissue paper very closely together.
Try not to let the paper underneath show.
Progress! Keep going....

Viola! Finished!
____________________________________________________________

Now on to the next Halloween Tree!


Make a cone out of cardstock again. 
This time, cut your tissue paper into strips and twist them. 


You're going to start with a 'guide' strip. Glue on your strip in whatever design you want. I went with a crazy random swirl. You want it to go all the way around and from top to bottom. This is going to be the strip you use to guide you as you glue on more. You may have to use more than just one piece of tissue paper, depending on how long you cut each strip. 

Here's my 'guide strip'. 
Notice how it starts on one side and you can see it goes all the way around.

Next, you're going to glue your orange strip right next to it. Follow your guide strip as you glue. 
Keep the pattern going...black, orange, black, orange.


Progress! Keep going!

Keep going until the whole thing is filled up!

Finished!
________________________________________________________

Here is a picture of our Halloween trees and some ghosts and a bat decorating our mantle. 


Related Posts Plugin for WordPress, Blogger...
 

Blog Template by BloggerCandy.com